
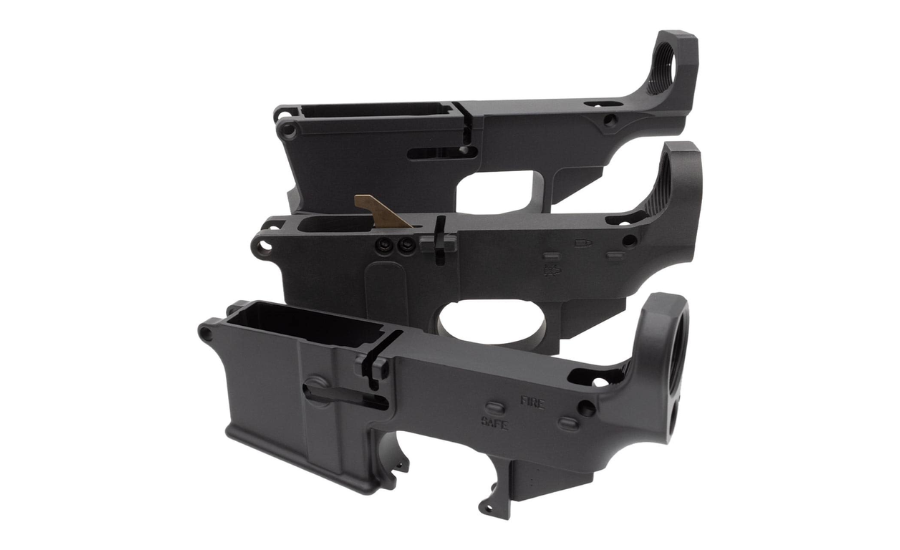
Making the 80 percent lowers can be a common project for those who wish to personalize their rifles. A lower of 80 percent is a partially completed lower the receiver in the AR-15 rifle, missing the last 20 percent of the machining required to be regarded as a firearm under U.S. law. This permits individuals to finish their receivers at home, without the requirement for registration as well as background screening. This comprehensive guide will assist you in the process of making one of the 80 percent receivers.
Understanding the legalities
Before beginning this procedure it’s critical to know the legalities. According to federal regulation inside the United States, it’s miles legal for all people to make their personal firearms for private use, without having a allow, as long as they’re no longer constrained from having firearms. But, nation legal guidelines ought to fluctuate, and it’s essential to understand the neighborhood regulations. In addition, selling or shifting an auto-manufactured gun may additionally require serialization and compliance with other necessities of the regulation.
Tools and Materials Required
In order to complete the lower of 80 percent project, you’ll need a variety of equipment and supplies. Here’s a checklist to help you get going:
Tools
- The Drill Press and Milling Machine Drill press or milling machine is necessary for drilling accurate holes, however milling machines can offer greater precise results.
- 80percent Lower Jig: This is the guide for milling and drilling.
- Drill Bits: Typically three-quarter” or 5/32″ bits are required.
- End Mills: In most cases an three-quarter” ends mill can be utilized.
- Dremel Tool or File Set: To fine-tune and finishing.
- Clamps or Vices for securing your lower receiver.
- Safety Equipment Gloves, safety glasses and ear protectors.
Materials
- 80 percent lowers receiver Choose a high-quality receiver constructed from 7075-T6 aluminium.
- Lower Parts Kit It includes an hammer, trigger as well as other components.
- Lubricant to ensure that your tools run without a hitch and to reduce friction.
Step-by-Step Instructions
Step 1: Set Up Your Workspace
Make sure you have got a clean and nicely-lit work location. Make certain you’ve got sufficient room to apply your milling or drill machine in a secure way. Set up all your device and tools in order that they are easily available.
Step 2 2. Secure the Lower Receiver.
Put the lower receiver in the jig following the instructions of the manufacturer. Make sure it’s secure and properly aligned. This will ensure that it is not moved during milling and drilling and is vital to ensure precision.
Step 3. The Pilot hole is being drilled. Holes
Utilizing the correct drill bits, you can drill the pilot holes in accordance with the specifications provided by the Jig. Most often, this means drilling the trigger pin and hammerpin and holes for safety selectors. Cut oil is a great way to cut down friction and heat. Be sure to drill with accuracy and straight lines to prevent damaging your lower receiver.
Step 4 Milling the Pocket of Fire Control
This is by far the most difficult component of the process. Utilizing the three-quarter” End mill take your time to cut out the pocket for fire protection according to the jig’s guidelines. It may take multiple passes to reach the proper dimensions and depth. Be patient, and be sure to remove the material slowly to avoid a mistake.
Step 5: Finished the Trigger Slot
After you have milled the pocket for fire controls make use of a smaller end mill, or Dremel tool complete your trigger slots. This is the place where the trigger is going to move, so it is essential to make sure that the trigger is precise. Smooth any rough edges using either sandpaper or a file.
Step 6: Cleaning and Deburring
When the machining is done, remove this lower part of the machine from the frame, and examine the work. Utilize sandpaper and files to get rid of any sharp edges or burrs. The receiver should be cleaned thoroughly, removing any metal shavings and other debris. A thorough cleaning can ensure smooth operation of the firearm’s components.
Step 7 Step 7: Assembling the Lower Parts of the Kit
Once the machining process is done, you can put together the lower part kit. Follow the manufacturer’s directions to install the specific kit. It is generally the case that you have to install the trigger, hammer, safety selection and a few other parts. Make sure to take your time in this procedure to make sure that all is properly installed and operates well.
Step 8: Trying to determine the Function and Fit
After the lower kit is installed, verify the function and fit of each component. Make sure the trigger is pulling smoothly and is reset correctly. Examine the safety selector to ensure it works and stops properly. If there are any issues you should address them prior to proceeding.
Step 9: Connecting the upper receiver
Once the lower receiver is complete it is now possible to connect to the top receiver. Check that the takedown pins are well and that the lower and upper receivers are aligned correctly. Verify the proper fitting and operation that the bolt’s carrier group as well as the charging handle.
Step 10 Test and Inspection
Conduct a final inspection to make sure everything is put together properly and is functioning as intended. Conduct a dry fire test in order to verify the trigger’s operation and safety functions. If all is good then you’re good to go on the fire range.
Safety Precautions
In all your activities, make sure to consider safety first. Make sure you wear appropriate safety gear like gloves and safety glasses. Be patient and cautious to avoid accidents and mistakes. If you’re not sure about a process, ask for advice from experts or experienced builders.
Troubleshooting Common Problems
If you have issues with the process, here are a few most common issues and solutions:
- Incorrectly aligned holes: Double-check the Jig’s alignment prior to drilling. If the holes are not aligned properly you may want to use a bigger drill bit to fix the position.
- Rough Edges Use a file or Dremel instrument to smooth the edges that are rough and create burrs.
- Trigger Issues: In the event that the trigger isn’t functioning properly take it apart and rebuild the components kit, making sure that all components are installed correctly.
- Incorrect Fit: If your lower and upper receivers are loose, look at the holes for takedown pins to see if there is damage or wear. You might need to choose an alternative upper receiver in order to ensure a more snug fitting.
Conclusion
The process of completing the 80 percent lowers can be a satisfying project that lets you modify your rifle and gain greater understanding of its mechanisms. If you follow these step-by-step directions and paying attention to safety, you will be able to successfully finish your 80 percent lowers and create a reliable and functional AR-15. Keep yourself informed of most recent laws as well as best practice to make sure that your build is safe and legal. Enjoy building!
Keep an eye for more updates & information on Info Seeker!